Load Bearing Walls | Episode 010
Last Updated on October 3, 2019 by Tim Harman
Do you have a load-bearing wall you’ve been wanting to take out? On this week’s show we talked all about the anatomy of a load-bearing wall and what it takes to make it disappear. Our discussion was far from exhaustive, but we hope it gives you the confidence to take on the job.
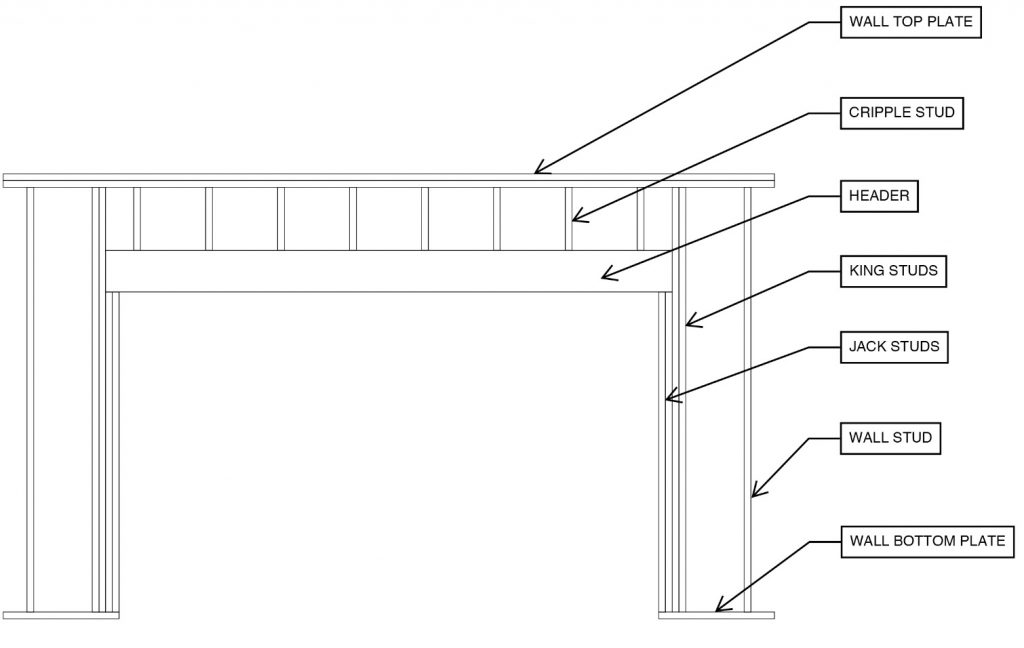
We threw out some terminology and said we’d post some visuals on the show notes to explain. Here’s a basic (yet very P.E.) sketch Dave did with some labels.
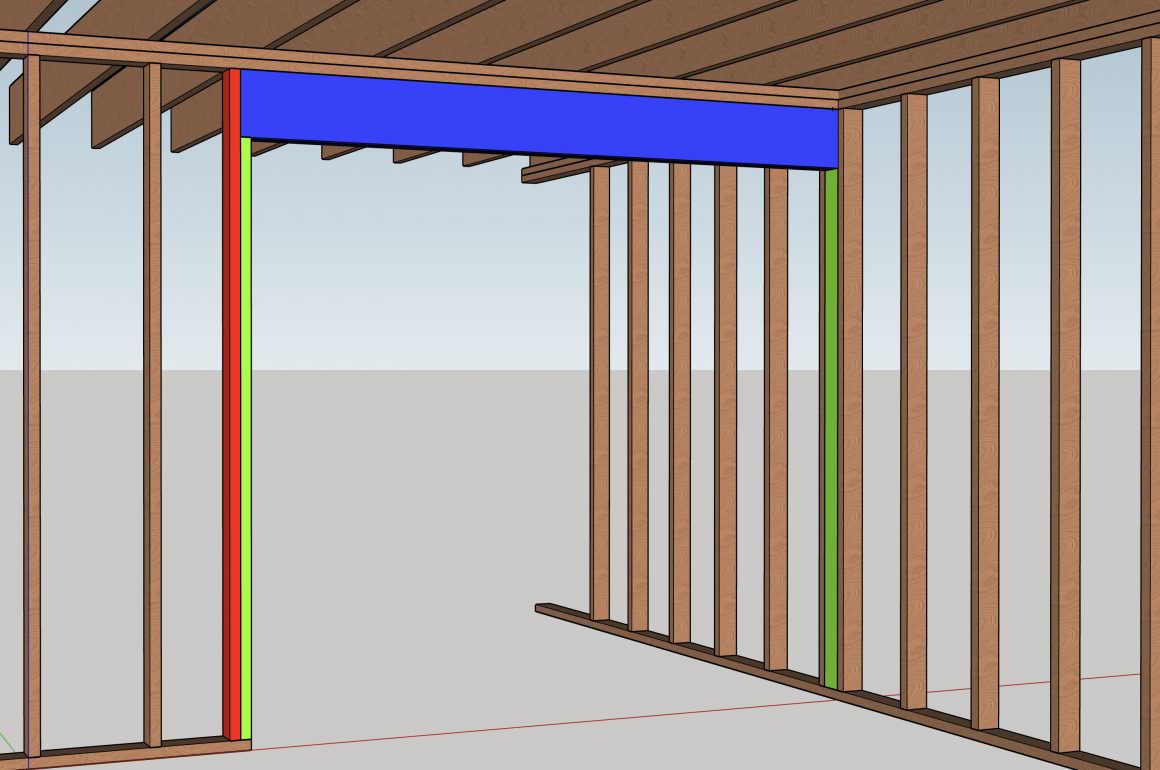
I felt the need to one-up Dave, so I made my own sketch in SketchUp. In the image, the green is the jack studs, the red is the king studs, and the blue of course is the header/beam. You can download my SketchUp file HERE. You’ll need the Sketchup Viewer 2019 which you can find HERE. I’m no SketchUp pro by any means, but hopefully it’ll give you a solid idea. I created it with the scenario we described on the show. A ranch house that needed a doorway expanded all the way to the exterior wall.

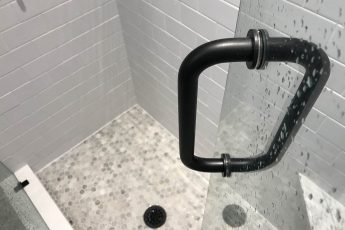
You can also check out this riveting video of me installing a pocket door in a load-bearing wall.
BONUS SEGMENT
Dave got all his built-up anger out on his segment, You’re Doing it Wrong! From parking brakes to bananas, Dave told us off about how we’re doing it all wrong.


Leave a Comment